Short version: choose metric or imperial units, set up and scale the wall, add exact frame and artwork details, arrange and compare options, then verify the exported measurements on the physical wall.
The core planning sequence
Photograph the wall clearly
Stand as square to the wall as the room allows and keep the intended hanging area visible. Include all four wall corners when possible if you want perspective-corrected ceiling and floor measurements. A well-lit, level photo is easier to calibrate than a wide-angle or heavily tilted shot.
Set the real-world scale
For a quick visual estimate, mark both ends of one known distance such as a measured cabinet width. For a wall photographed at an angle, use four-corner calibration and enter the wall width and height. Drag a misplaced point before applying the scale.
Measure the outside of each frame
Use the overall outside width and height, not the artwork or print size. Add mat and frame details separately if you want the preview to resemble the finished piece. When ordering a frame, check the supplier's stated outside dimensions rather than assuming the print size equals the final size.
Choose a layout and a spacing rule
Start with a row, grid, salon wall or edge-aligned composition, then adapt it to your room. Pick a target gap and keep it consistent where practical. The visual centre of the group often matters more than forcing every edge to align.
Check the real wall before hanging
Export the layout image or measurement PDF, then verify the critical distances with a tape measure. Check furniture clearance, switches, radiators, doors and sight lines. Confirm your wall material and fixing method before drilling.
Common spacing and height starting points
Many gallery walls begin with roughly 5 to 8 cm between frames, but the best gap depends on frame size, visual weight and the room. Treat a 145 cm centre height as a starting reference rather than a universal rule, especially above sofas, beds, sideboards or stairs.
Everything you can do in the planner
The planner can take you from an empty wall or a folder of artwork to editable alternatives, print guidance, and an installation-ready handoff. The sections below explain the full workflow and the controls shown in each screenshot.
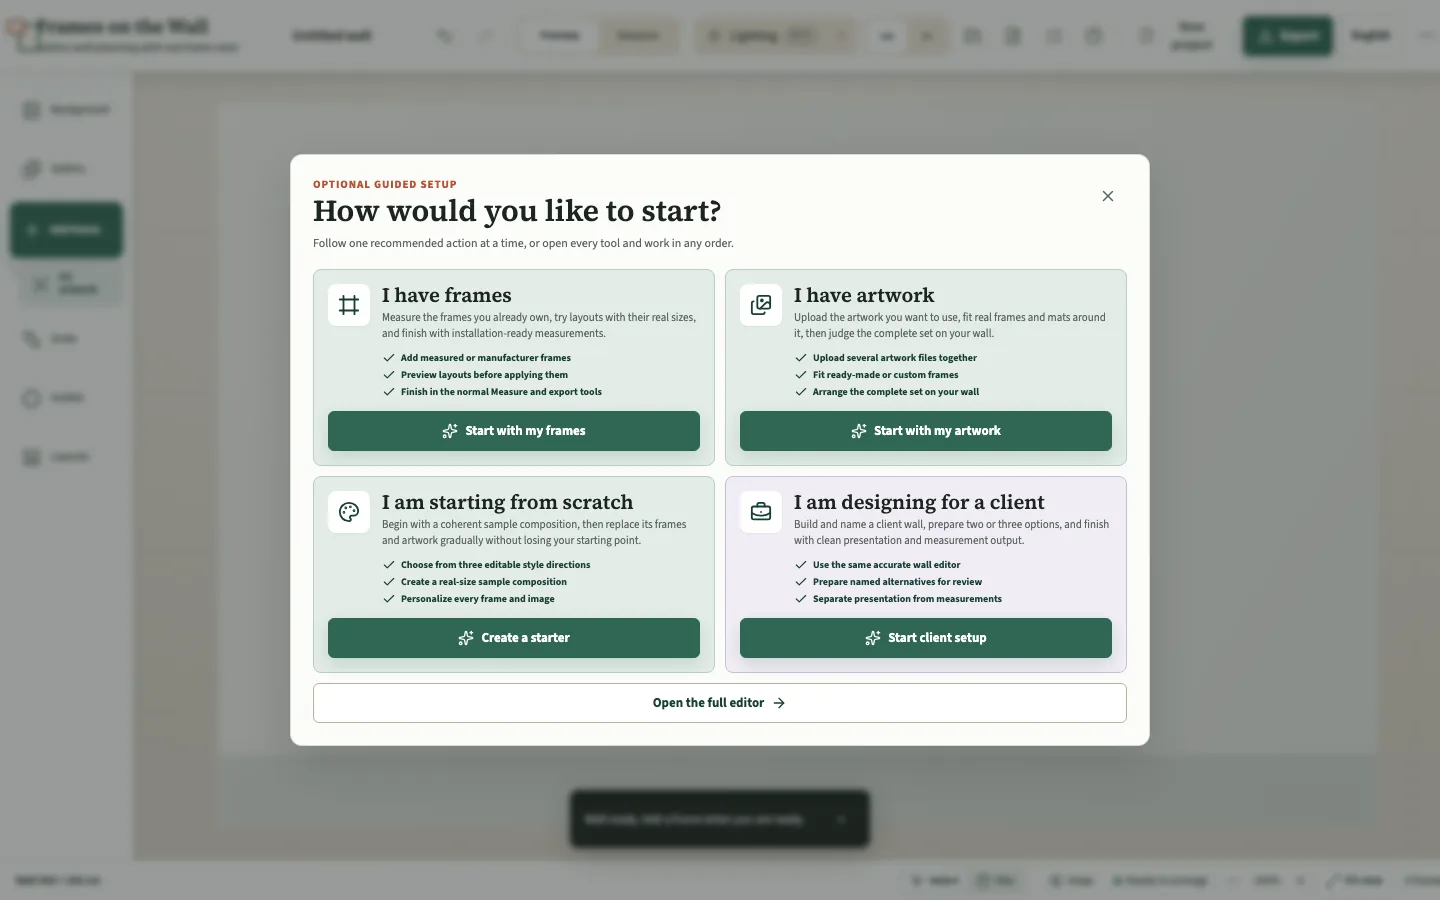
Choose a guided setup or work freely
Use the optional guide for frames you already own, artwork that needs frames, a gallery wall from scratch, or a client project. Each route recommends one real editor action at a time without resetting your work, and you can pause it, switch routes, open contextual Help, or return to the full editor whenever you like.
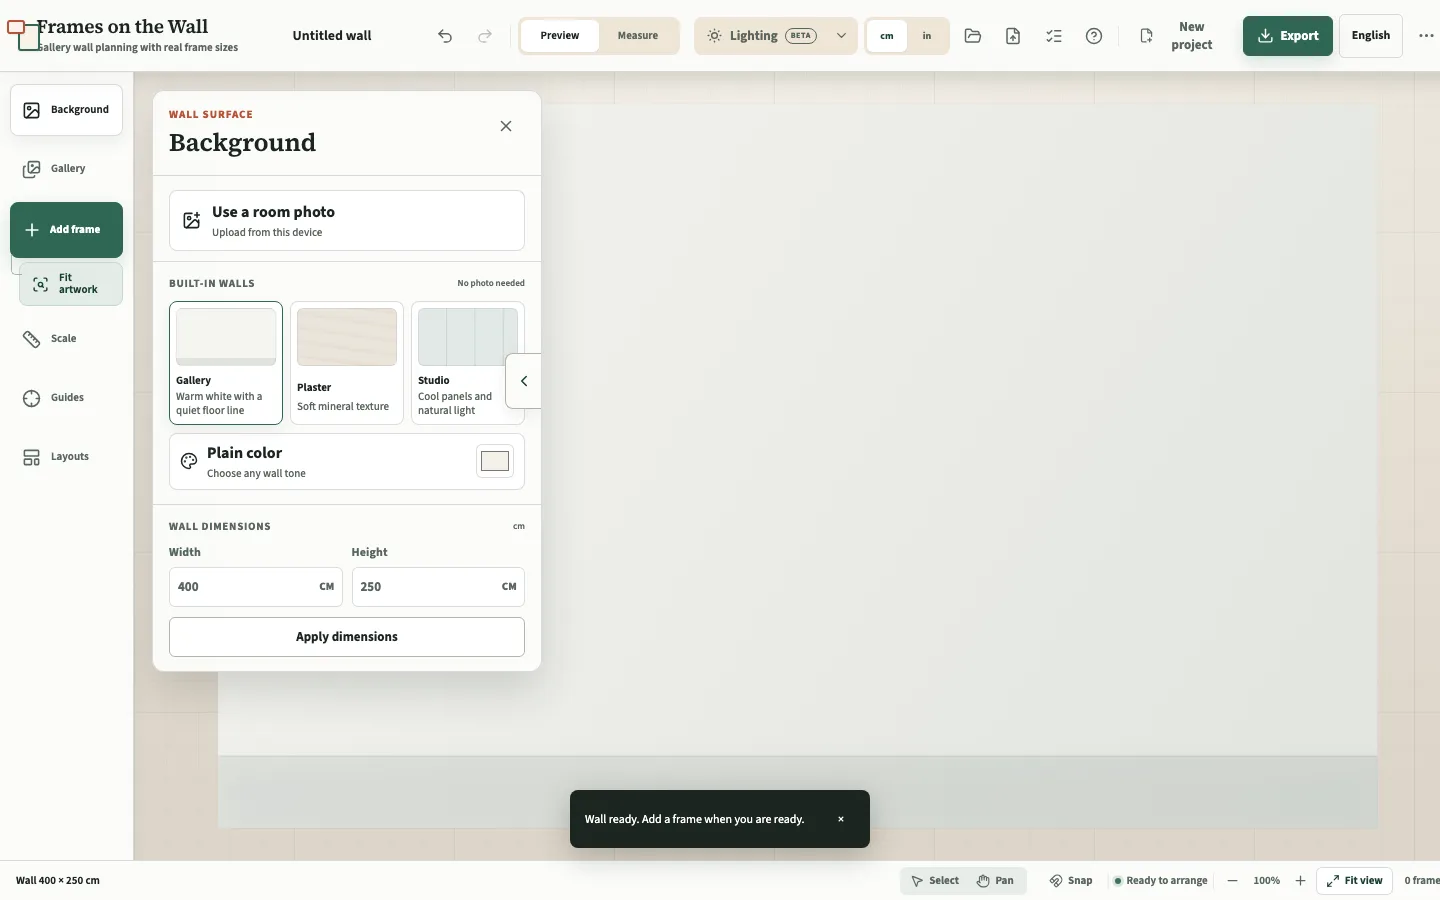
Set units and choose the wall
Choose centimetres or inches before entering dimensions. Then upload a room photo, select a built-in Gallery, Plaster, or Studio wall, or use any plain wall colour. Built-in and colour walls accept exact width and height; room photos can also use optional on-device Photo Lighting Beta to match frame brightness, colour, and light direction.
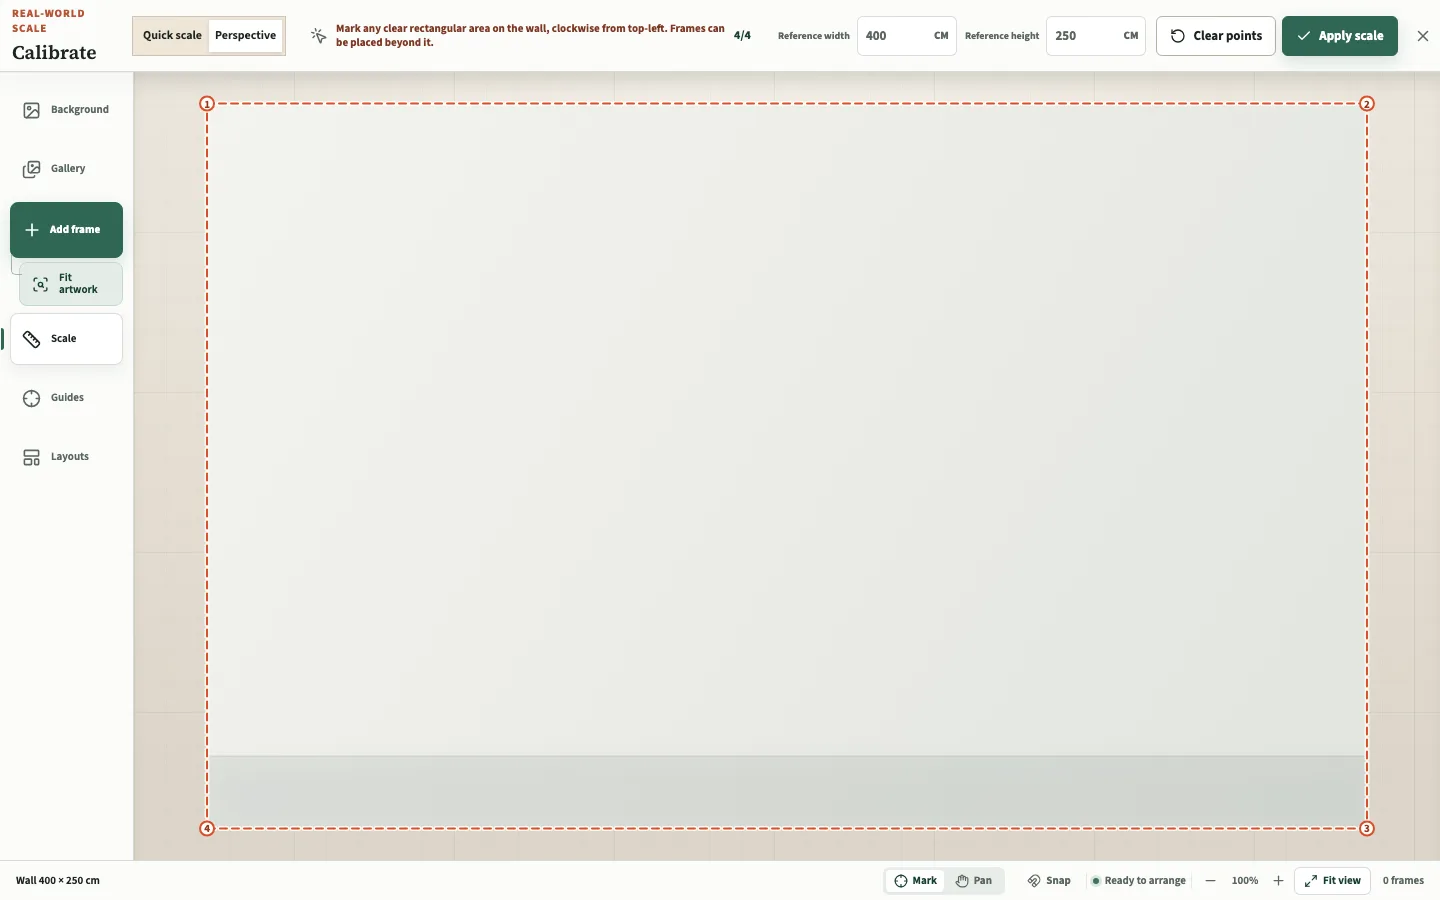
Calibrate the wall to real measurements
Quick scale uses the two ends of one known distance for a useful visual estimate. Perspective calibration uses four clockwise points plus a known width and height to correct an angled photo and establish trustworthy wall edges. Drag any misplaced point before applying, and use wall, floor, furniture, left, or right references when measurements matter.
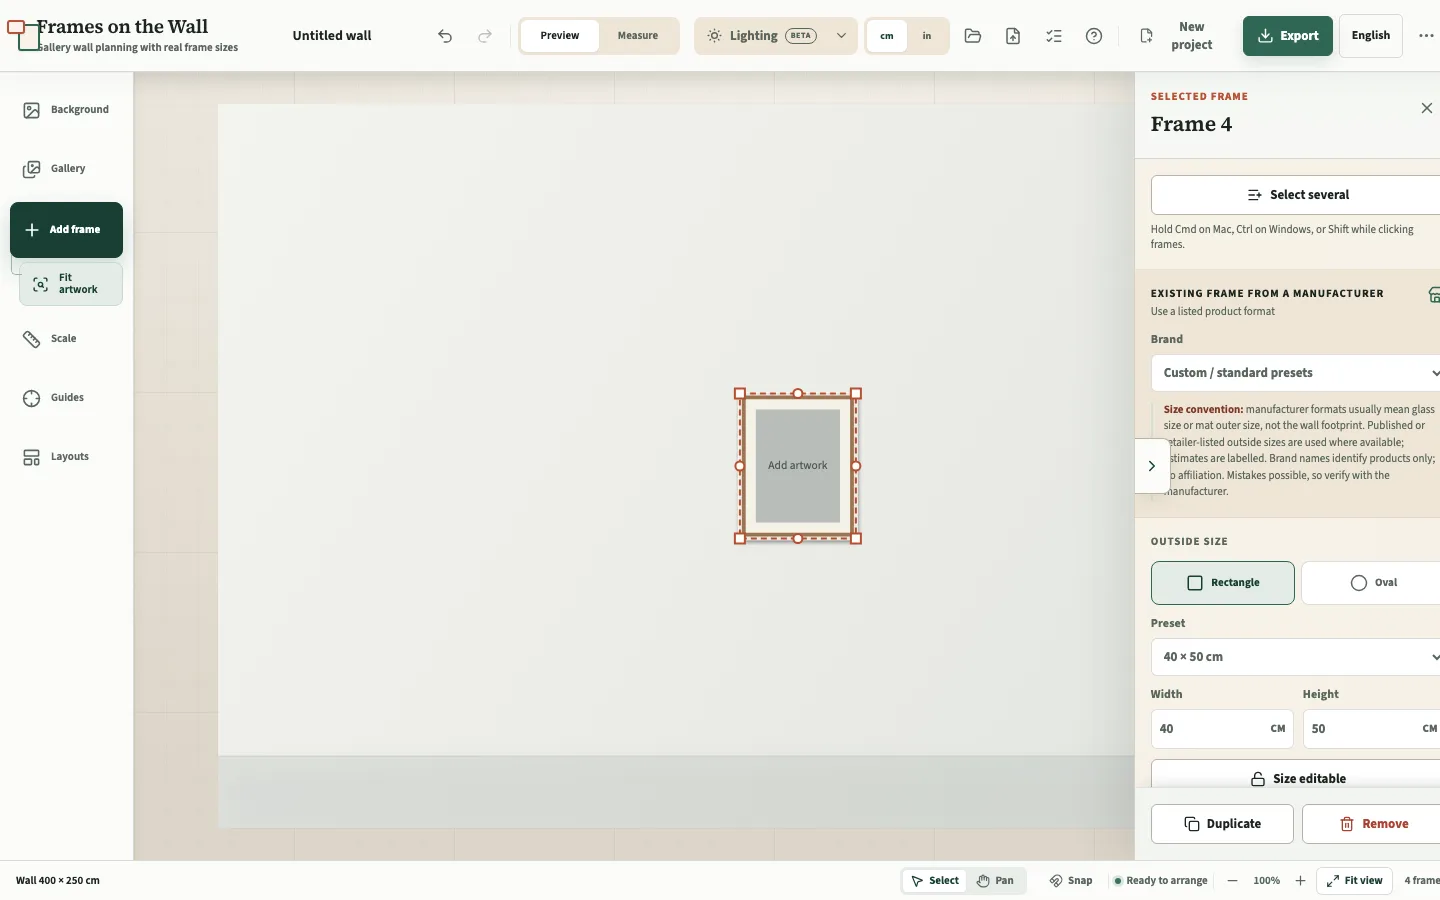
Build exact frames and artwork openings
Add a standard preset, custom outside size, or a selectable manufacturer model from HALBE, Nielsen Design, IKEA, or Deknudt Frames. Frames can be rectangular, oval, or circular, with editable rail finish, colour, mat colour, linked or individual mat sides, and multiple openings up to a 3 × 3 grid. Fit existing artwork to ready-made or custom frames, adjust crop and fit, and review print-size recommendations with paper overlap.
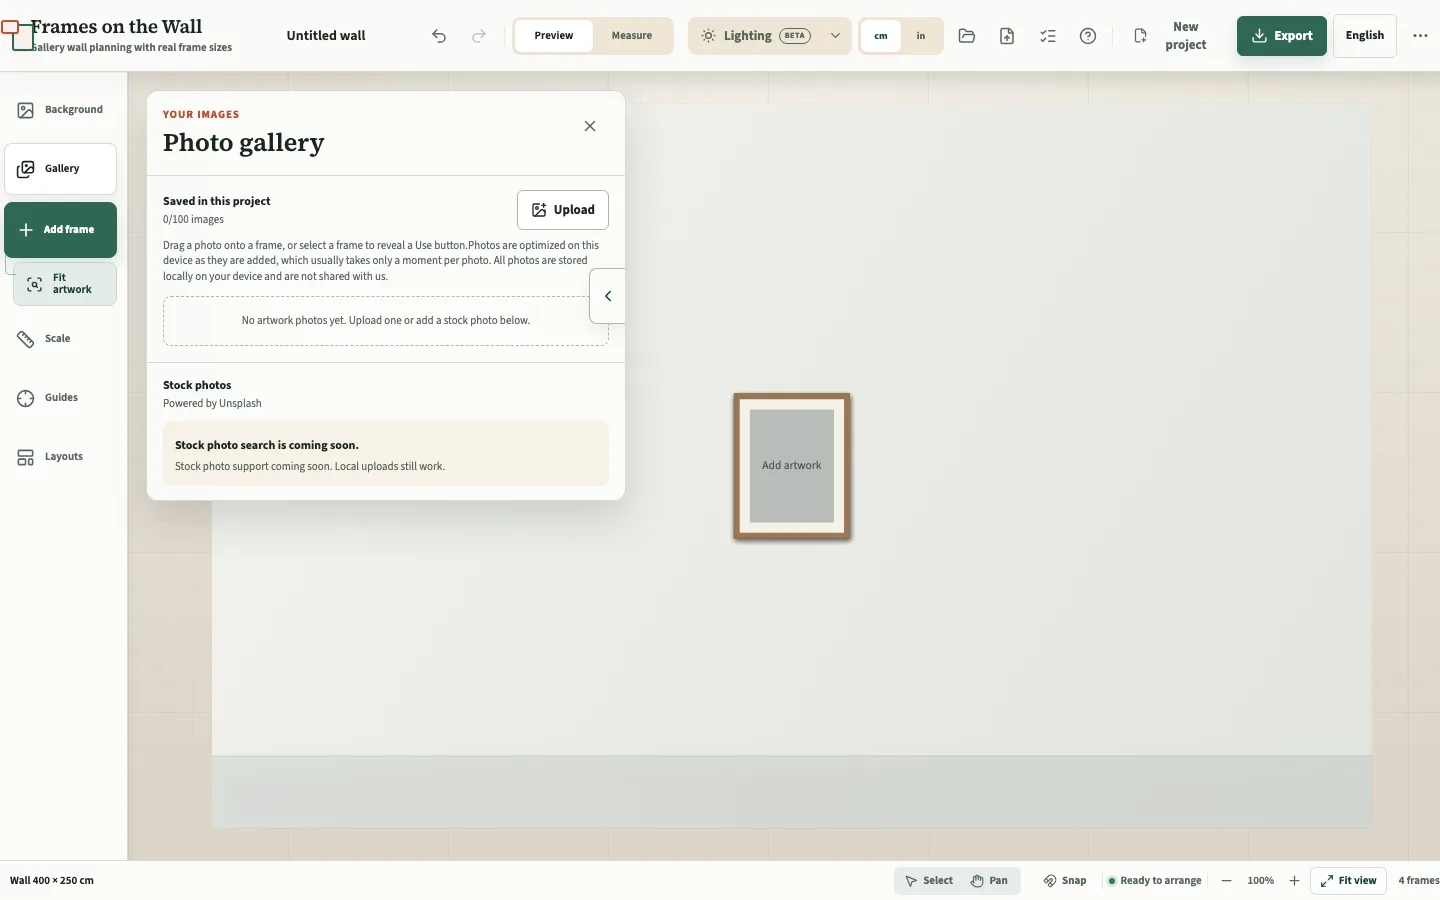
Manage artwork in the local gallery
Upload JPEG, PNG, or WebP files in batches, reuse them across the project, drag them onto frames, and set a different image and crop for every multi-opening mat. Images are optimized and stored on this device. When an Unsplash key is configured, keyword search can import attributed stock images into the same local gallery.
Arrange, align, and compare options
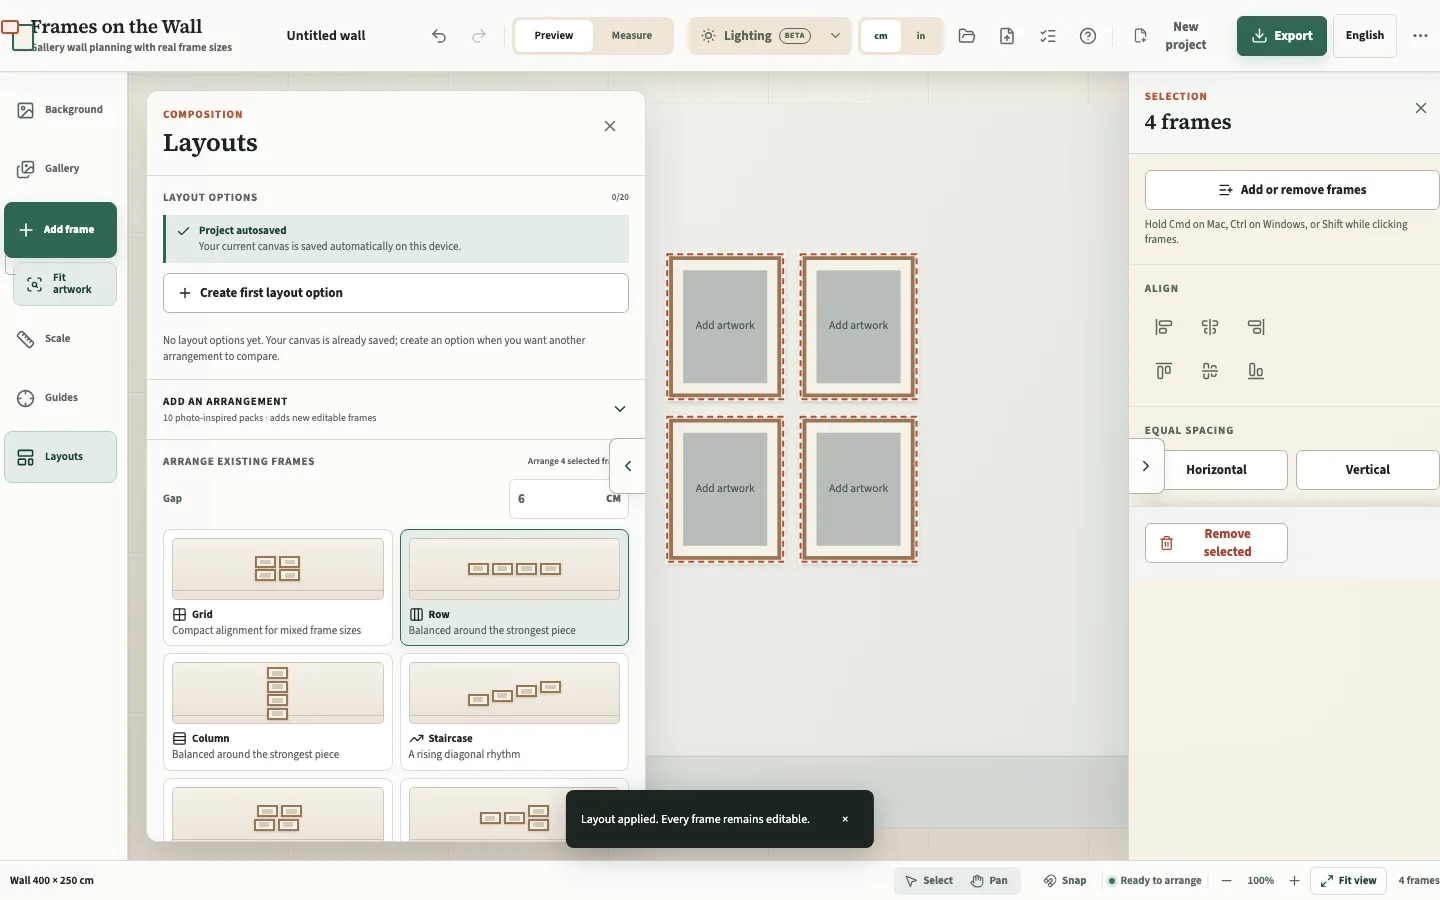
Drag with mouse or touch, nudge with the keyboard, turn snapping on or off, add furniture or architectural guides, marquee-select frames, align edges or centres, and distribute equal spacing. Preview editable grid, row, column, staircase, salon, feature, wave, pyramid, and centred patterns, add photo-inspired arrangement packs, and save up to twenty named layout alternatives without losing the current canvas.
Measure, save, and export
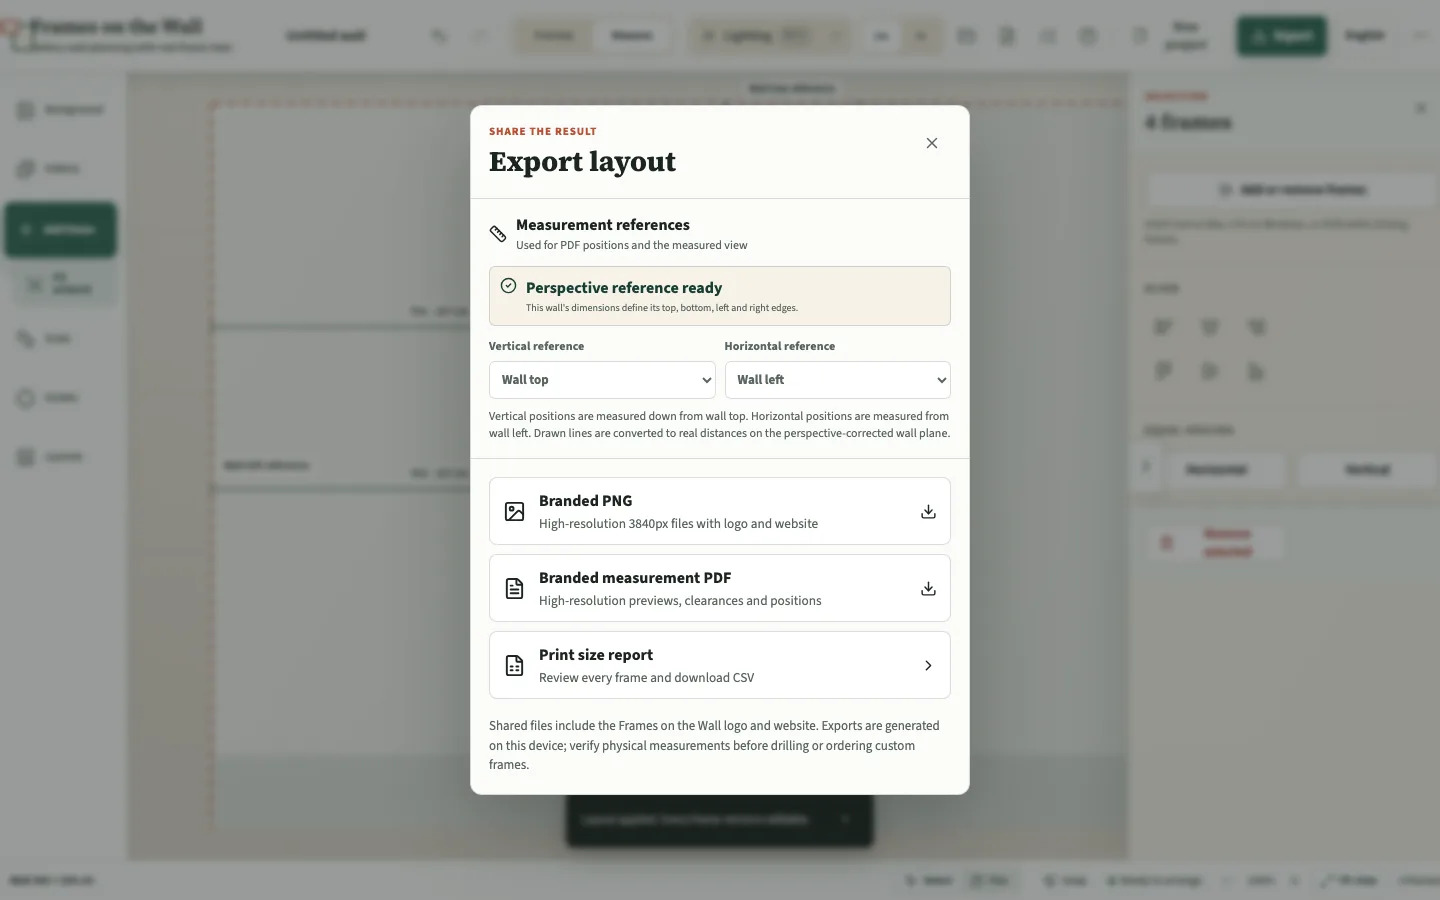
Switch between a clean Preview and Measure view for frame sizes, gaps, positions, and wall clearances. Undo and redo freely; the current project recovers from local browser storage, while a portable .fowall file is the durable way to save or move it. Export branded high-resolution PNGs, dimensioned PDFs with selectable reference edges, print-size CSV reports, or multi-option ZIP packages, and always verify critical dimensions before drilling or ordering.
Gallery wall planning questions
Do all frames need to match?
No. Repeating one or two qualities, such as colour, material, mat width or spacing, can make mixed frames feel intentional.
Should I arrange frames on the floor first?
It can help with sequencing, but a scaled room preview also shows how the group relates to furniture, wall edges and eye level.
Can I plan without uploading a room photo?
Yes. Start with a built-in wall colour, add frames at real sizes, and enter wall dimensions when useful.
What should I export?
Use the layout image for a visual reference and the measurement PDF for final placement checks. Keep the project file if you want to revise the arrangement later.